Most of us agree that cars are complicated, but there are still a few simple maintenance jobs any driver can do. By working through the list below, you’ll not only save money, but can also bask in the warm glow of satisfaction that comes from a job well done. To help, we’ve rated each task for difficulty and given a rough idea of how much time to allow.

1. Changing Windscreen Wipers
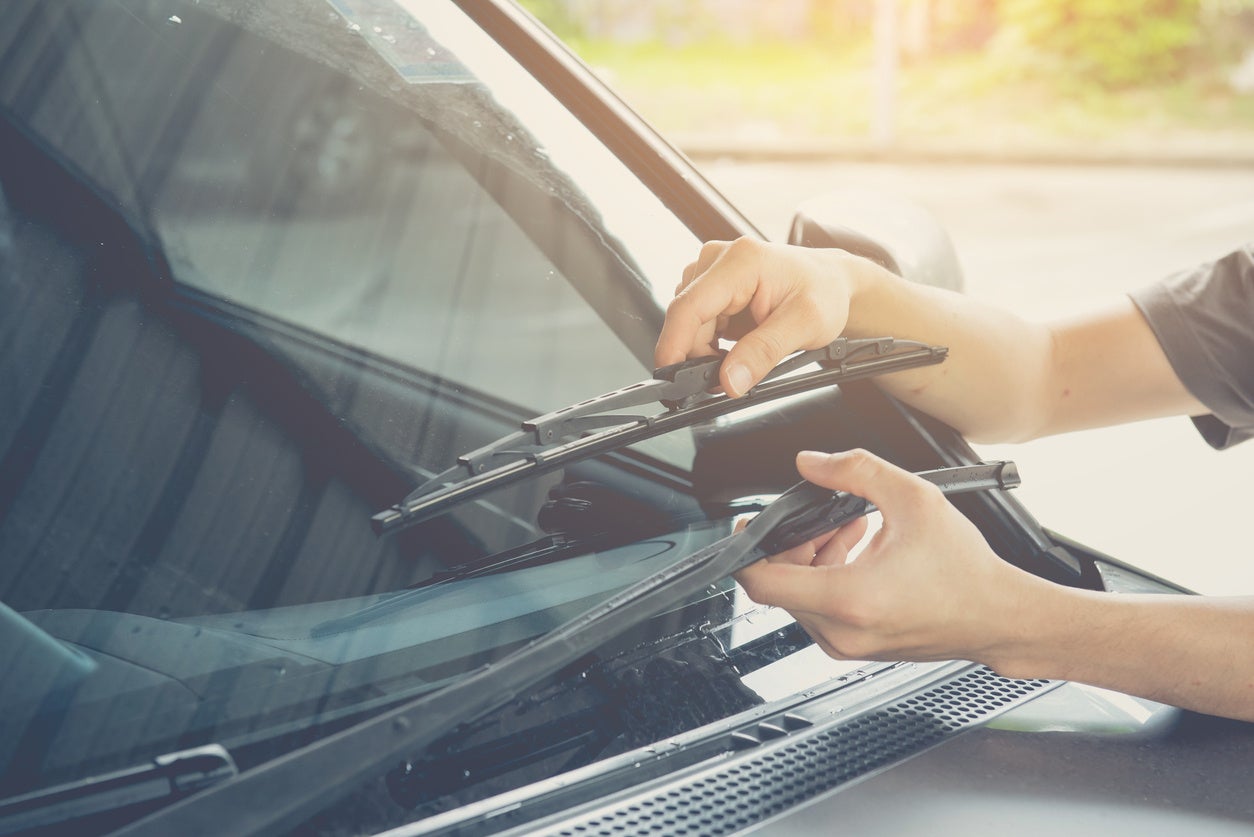
Difficulty: 1 out of 5 Time to Allow: 30 minutes Chances are you rarely give a second thought to the windscreen wipers on your car. However, when you realise the abuse they go through on a daily basis, it’s no surprise they deteriorate. In the summer their thin rubber wiper blade is baked in the sun, while in the winter it freezes to the glass. All the while they must wipe away everything from oil and dust to rain, sleet, and snow.
Thankfully, swapping your old windscreen wipers for a new set is as simple as lifting the wiper arm away from the screen, squeezing a retaining clip to release the wiper and slotting the new one in its place. When it comes to choosing windscreen wipers, our advice is to spend a bit extra on something from a quality brand and replace in pairs to ensure consistent performance. Decent online retailers or car accessory shops will have a simple tool to help you choose the right size wipers for your car.
2. Rotating Your Tyres
Difficulty: 1 out of 5 Time to Allow: 3-4 hours Front tyres tend to wear slightly faster than those on the rear, particularly if your car is front-wheel drive. Swapping your wheels and tyres roughly every six months or 6000 miles can help to even out the wear, but keep in mind that, for safety reasons, the tyres with the most grip must always go on the rear.
The physical process of rotating tyres is the same as when changing a wheel, though it will take four times as long. You do however need to swap the tyres in a certain order depending on whether your car is front-wheel drive, rear-wheel drive, or four-wheel drive. It’s different again if it uses directional tyres.
- For front-wheel-drive cars, move the front tyres to the rear axle, keeping each on the same side as it was when you first removed them. When you put the rear tyres onto the front axle, you want to switch sides so that what was the rear left tyre goes on the front right and vice versa.
- If your car is rear-wheel drive, keep the rear tyres on the same side when you move them to the front. Then swap the fronts from side-to-side when you put them on the rear axle.
- Every wheel and tyre on a four-wheel-drive car needs to be swapped front to back and side to side, so what was the rear left tyre becomes the front right and so on.
- Directional tyres (those with an arrow on the sidewall of the tyre) have a tread pattern designed to work in one direction only. As such you can swap the front tyre for the back tyre so long as you keep them on the same side of the vehicle.
Be sure the car is parked in first gear (or Park, if it's an automatic) on a hard, level surface. Switch the engine off and apply the handbrake. If you can, put a wheel chock behind the wheel diametrically opposite the one you are changing.
Bear in mind that the advice above applies only if your car uses the same size wheel and tyre front and rear. If in any doubt, consult your local tyre-fitter.
Oh, and while you're at it, check your tyre pressures using a pressure gauge, as you're at higher risk of a blowout if they're not at the correct pressure. It can also affect your fuel consumption. Check the tread depth at the same time, and while you've got the wheels off, have a quick look at the brake pads to make sure they're not worn down.

3. Changing the Battery
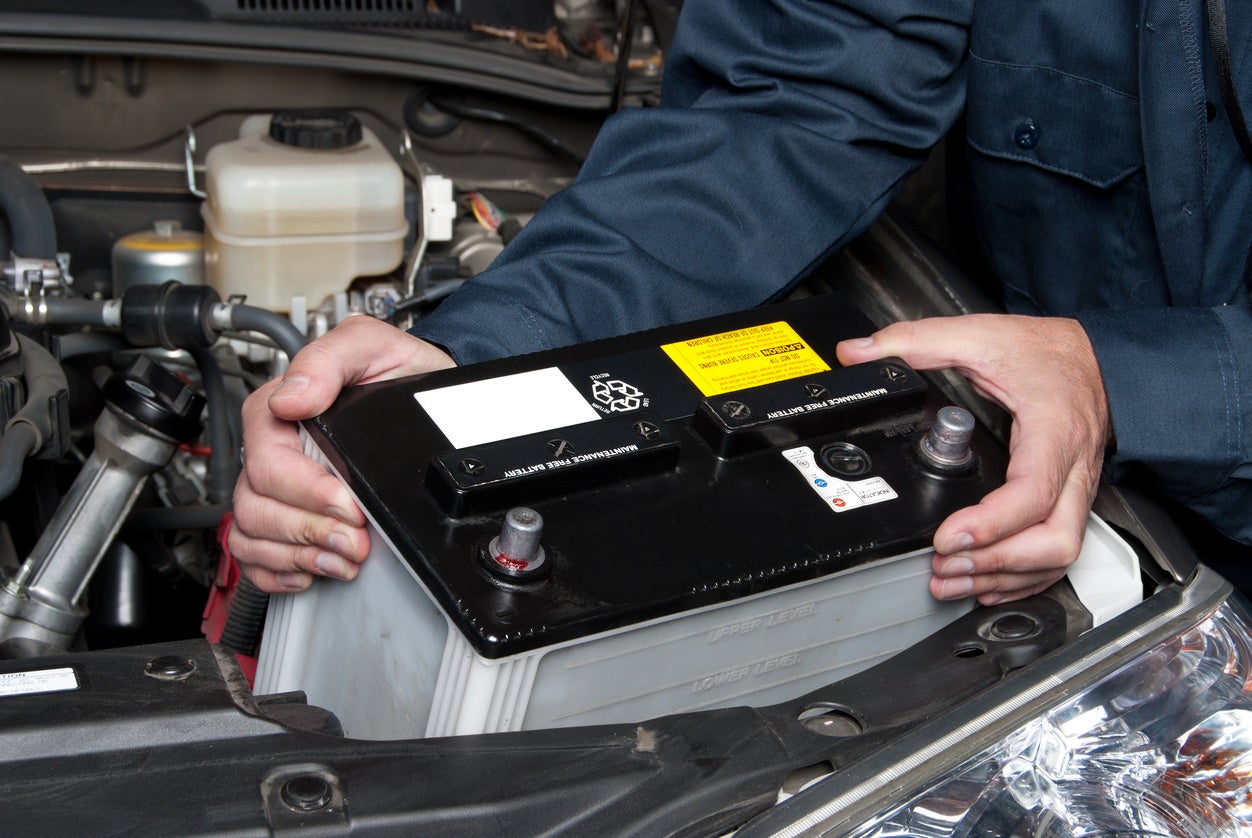
Difficulty: 3 out of 5 Time to Allow: 1 hour Trying to start your car on a cold, wet morning only to find the battery is flat is a truly miserable experience. You can minimise the chances of it happening by replacing your car’s battery every four or five years.
To change the battery, park on a flat surface with the handbrake on and make sure you’ve noted down any codes for systems (like the radio). Additionally, check the car’s handbook to see how to re-programme the remote central locking system if needed. Car battery acid is highly corrosive, so be sure to wear protective eyewear and gloves, and always keep a battery the right way up to avoid acid spilling out. If at any point you see acid leaking, call in a professional to do the job instead.
Assuming all is well, loosen any nuts around the battery’s negative terminal (it’s usually black and will have a ‘-’ sign) and remove the lead. Do the same for the positive terminal (red with a ‘+’ sign) and loosen any bolts or clamps holding the battery in place before lifting it out.
Slot in the new battery, making sure the negative and positive terminals are the correct way around. Refasten any retaining bolts or clamps, take the terminal covers off the battery, and refit the cable to the positive terminal first, followed by the negative. Your old battery must be disposed of properly; try your local recycling centre or use the government’s hazardous waste disposal online tool.
4. Checking Fluids
Difficulty: 1 out of 5 Time to Allow: 15 minutes Keep an eye on your engine’s fluid levels to avoid unnecessary problems. We’ve written guides on checking your oil level using the engine oil dipstick and checking your coolant level, to make sure you have enough antifreeze, and keeping your screenwash topped up is also an easy job.
Rather than using just water for this, fill up with a dedicated screenwash liquid. Not only will it do a better job of clearing the windscreen, but it also won’t freeze in the winter. Washer fluid can be bought as a concentrate or pre-mixed for convenience.
It's also worth taking a quick look at the power steering fluid and the brake fluid to make sure they're at the right levels. Check your car's manual if you're not sure where the reservoirs are, and read it carefully before opening the brake fluid reservoir, as that can sometimes impact the braking system. If in doubt, consult a qualified mechanic.

5. Restoring Headlights and Plastic Trim
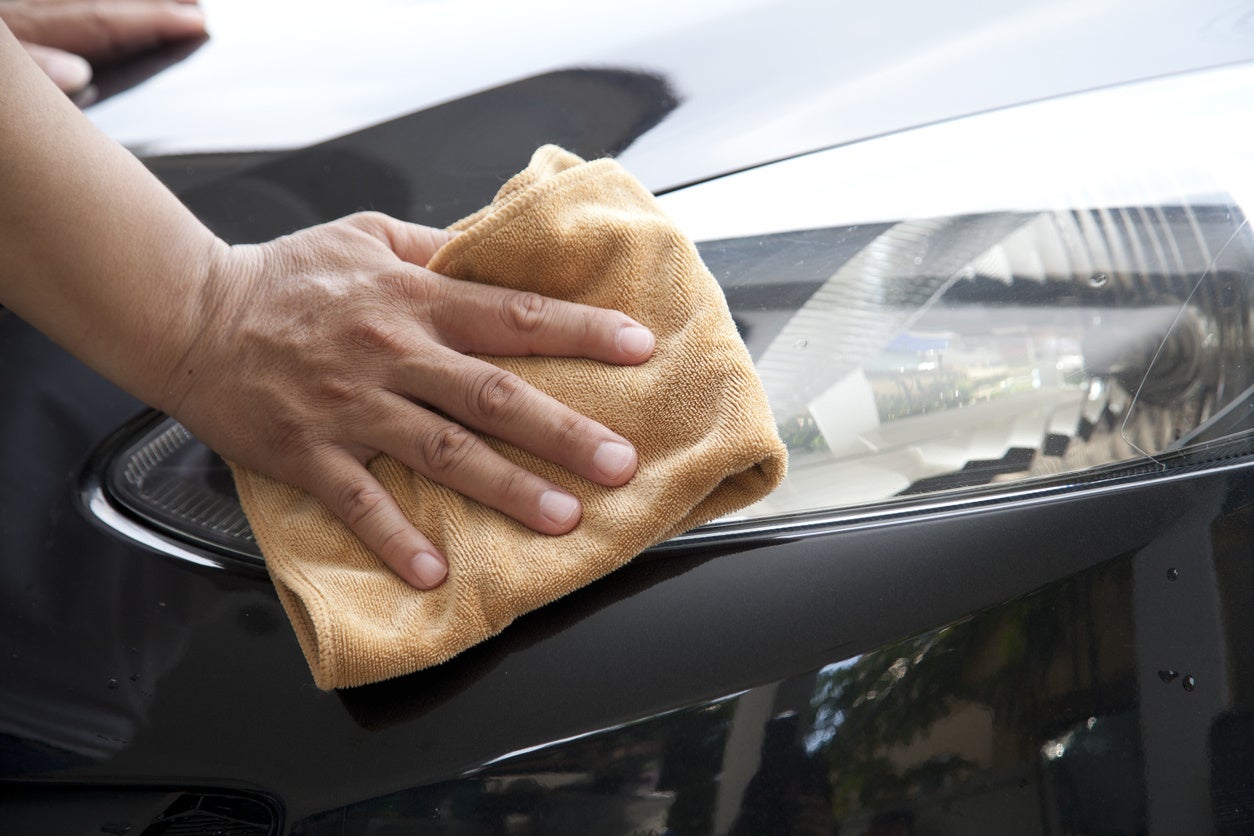
Difficulty: 1 out of 5 Time to Allow: 1-2 hours Over the years the plastic lenses of a car’s headlights will slowly deteriorate, leaving a dull or hazy appearance. Restoring them is very much a DIY job rather than an expensive repair, and can be done with a dedicated product or – for a cheap fix – even some toothpaste and a cloth. Don’t, however, take the same dental-inspired approach to your car’s paintwork, because that will leave unsightly swirl marks.
You can restore faded black or grey bodywork trim such as bumpers or spoilers by using a specialist rubber cleaner. Along with a thorough car wash, it’ll help to transform your old banger into a beauty, and it will provide a layer of protection.
6. Cleaning the Glass
Difficulty: 1 out of 5 Time to Allow: 30 minutes It sounds obvious, but cleaning your car’s windscreen and windows will not only keep them in good condition, it is also vital for safe driving. A basic car wash will do only half the job here. Also use a proper glass cleaner (a household one is fine) and either a microfibre cloth or old newspaper to avoid leaving streaks. Clean the windows inside and out, and don’t forget the mirrors, too.

7. Changing the Air Filter
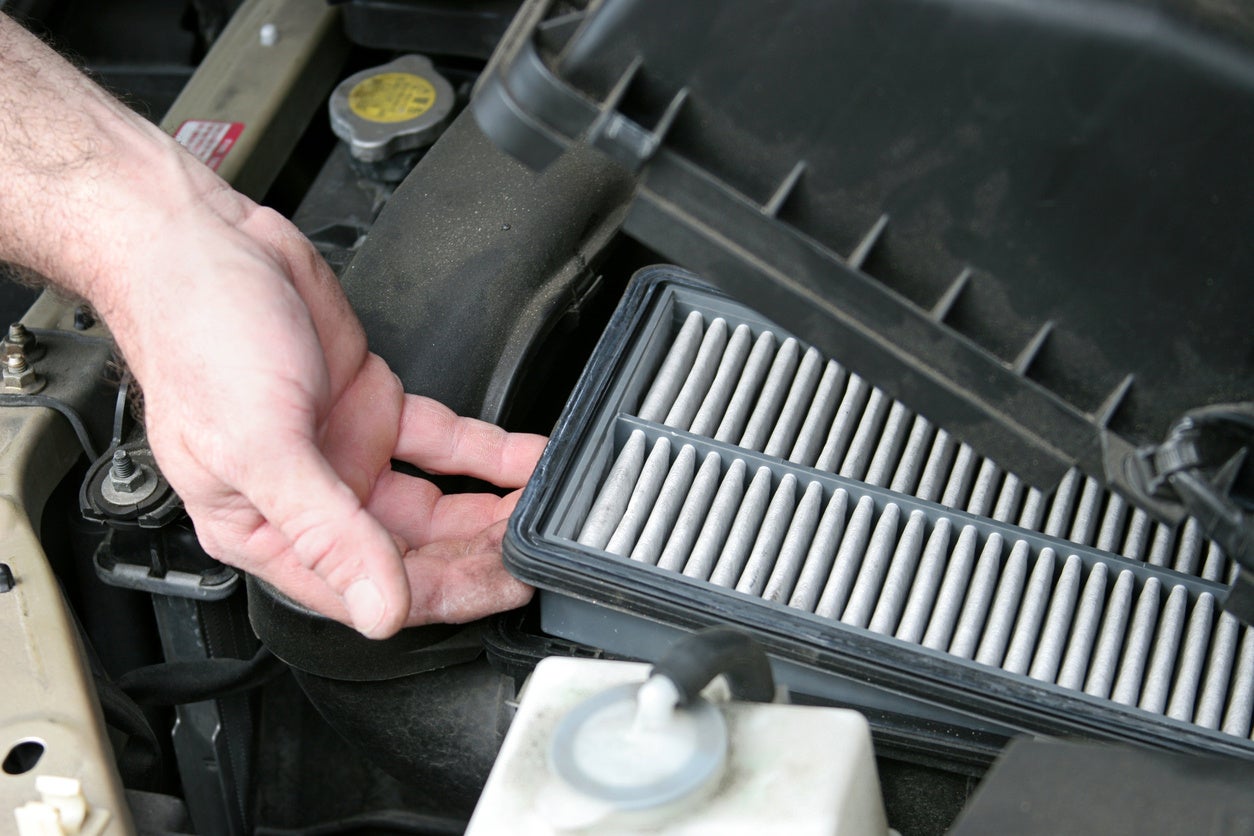
Difficulty: 1 out of 5 Time to Allow: 1 hour An air filter is designed to pick tiny dust and debris out of the air before it enters a car’s engine. The filter will become clogged with debris build up over time and need replacing – a simple yet satisfying job. To do it, open the bonnet, locate the air filter housing (if you’re unsure where it is, try asking the CarGurus community via our Questions page), and undo a couple of clips. Then remove the old filter, pop in the new one, and refasten its housing, taking care not to disconnect any hoses or electrical connectors as you do so.
All cars use slightly different air filters. Ask at a car accessory shop or your local dealership to find which one you need. How often you change the air filter depends on the type of driving you do, but at the very least swapping for a new one every couple of years won’t cause any harm.
8. Replacing Blown Bulbs
Difficulty: 3 out of 5 (if you’re lucky) Time to Allow: 1 hour Not only does a blown bulb make it difficult to see where you’re going, but it also means other drivers won’t be able to see you, either. Replacing a bulb is a straightforward job in most older cars: You open the bonnet, find the back of the light, undo some clips, and swap the faulty bulb for a shiny new one. The same applies to indicators and rear lights.
Do note, however, that accessing the headlight can be much trickier on newer cars, and is best left to an expert. You’ll be able to tell pretty soon after starting the job how much of a challenge it’ll be, but if in doubt or if you simply want advice on what bulb your car requires, try your local car accessory shop.

